Installing Python on Windows
Python is a popular open-source, high-level programming language. It’s intuitive and offers many helpful tools and libraries — Python is a powerful data science asset to have in your toolkit. To start working with Python, we first need to download it and install it on our operating system (in this case, Windows).
How to Install Python on Windows
There are two main ways to install Python on Windows:
- Installation from the official Python website.
- Installation using Anaconda, a convenient distribution of Python and R programming languages.
- Choose the official Python installation if you’re a programmer working on web development, network programming, or general-purpose software applications.
- Choose Anaconda if you’re focused on data science and machine learning. Anaconda provides:
- 1500+ built-in Python and R data science packages.
- Popular Python IDEs like Jupyter Notebook.
- A graphical user interface (GUI) for ease of use.
Step 1: Check if Python is Already Installed
Before installing Python, check if it’s already installed on your computer.
- Open Command Prompt (search
cmdin Windows Search) or Windows PowerShell (right-click theStartbutton and selectWindows PowerShell). - Type:This command shows the installed Python version (if any).
python -V - To check the installation path, type:
where.exe python
Step 2: Install Python from the Official Website
If Python isn’t installed, follow these steps to download and install it from the official Python website.
Download Python
- Open the Python Releases for Windows page.
- Select your desired Python version.
- Download the Python executable installer.

Decide Between Python 2 and Python 3
Python 3 (released in 2008):
- Simpler syntax.
- Extensive libraries, especially for data science.
- Actively supported by the Python community.
Python 2 (no longer supported):
- May be required for legacy projects or older scripts.
For new projects, Python 3 is recommended. If you need Python 2, download the Windows x86-64 MSI installer to match your Windows architecture.
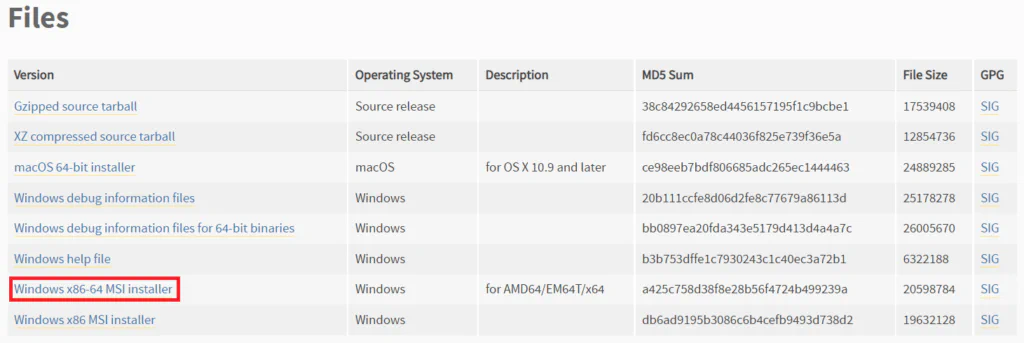
To download Python 3, choose the appropriate installer for your Windows version:

Install Python 2
- Run the downloaded Python 2 installer.
- Select the default options during installation.
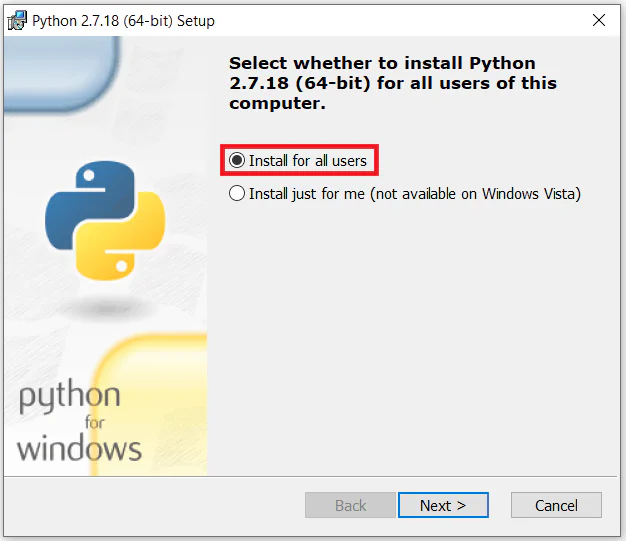
Install Python 3
- Run the Python 3 installer.
- On the first screen:
- Check “Add Python to PATH.”
- Click “Install Now.”
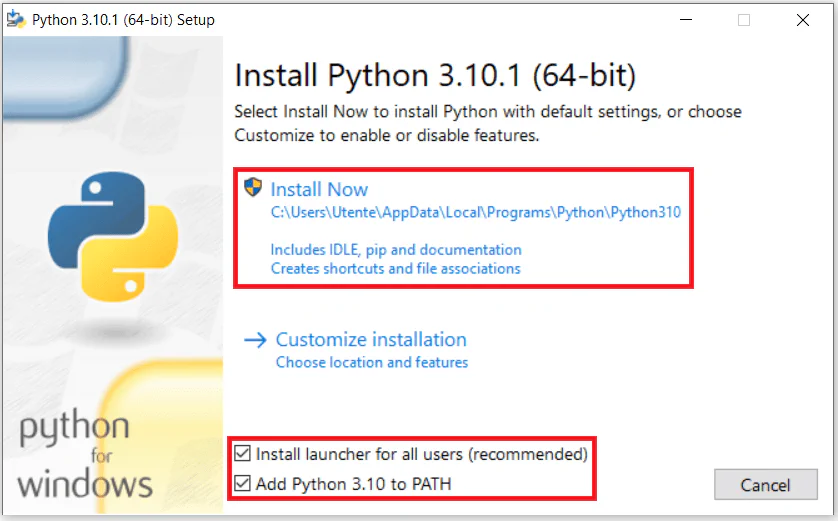
- After installation, select “Disable Path Length Limit.”
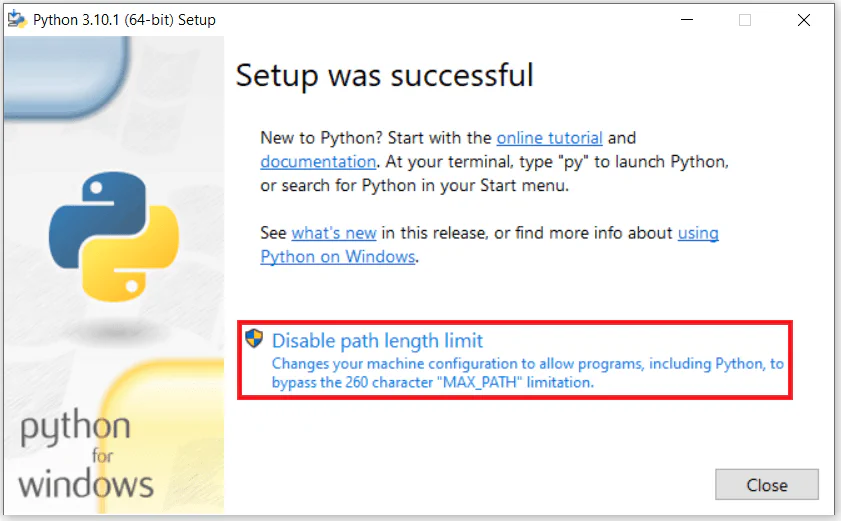
Step 3: Verify Python Installation
- Open Command Prompt.
- Type:If both Python 2 and Python 3 are installed, Python 2 may take priority. To check Python 3, type:
python -Vpython3 -V
Step 4: Install Python Using Anaconda Navigator
For data science or machine learning, installing Python through Anaconda Navigator is recommended.
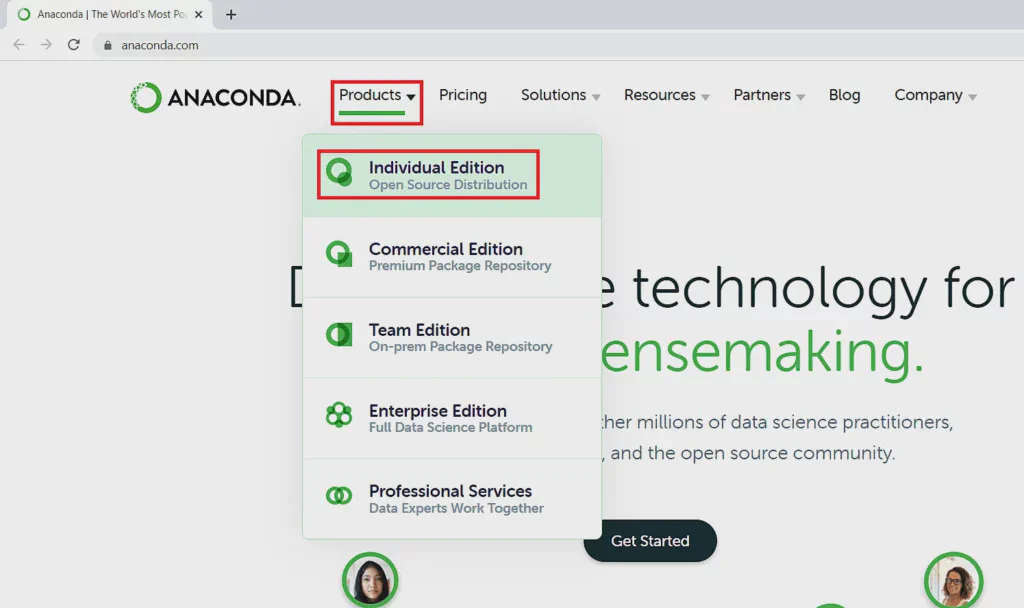
- Open the Anaconda Individual Edition page.
- Download the Windows installer.
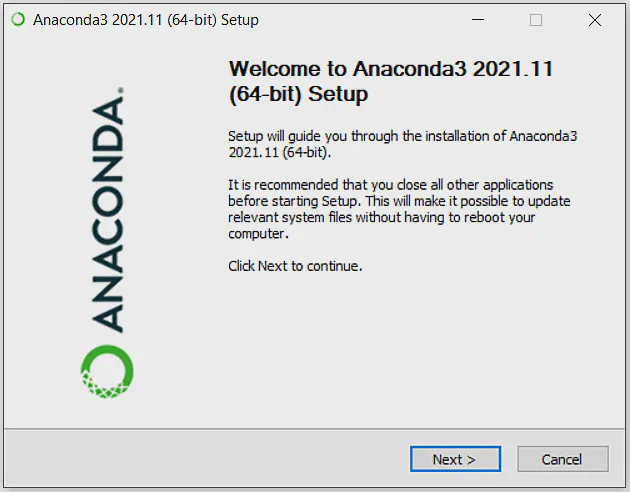
- Run the installer and follow the default options.
Step 5: Run Python
Using the Official Installation
- Search for
IDLEin Windows Search. - Open the desired version of IDLE.
- Start coding in Python.

Using Anaconda
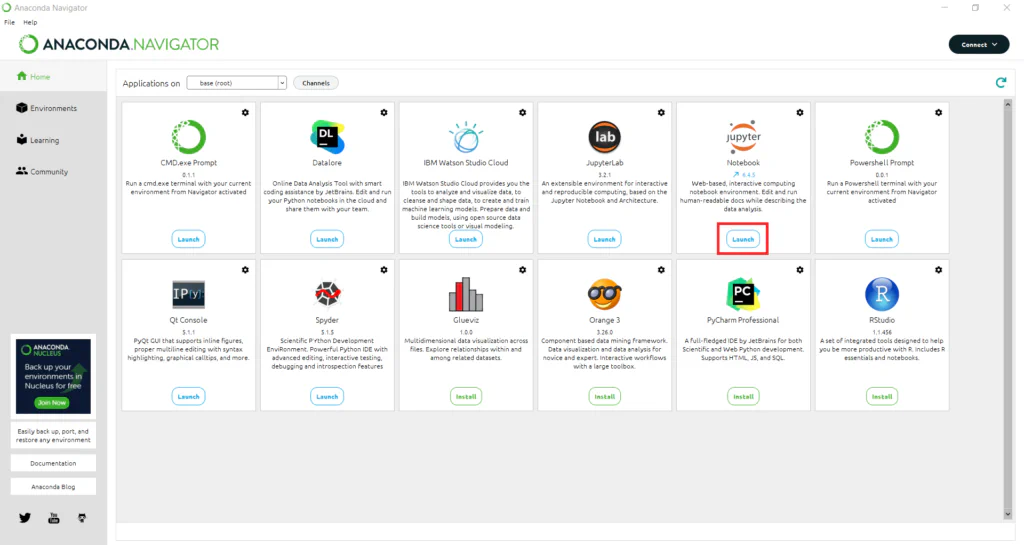
- Open
Anaconda Navigator. - Select an application, like Jupyter Notebook.
- Create and run a new Python notebook.
Step 6: Update Python
From the Official Website
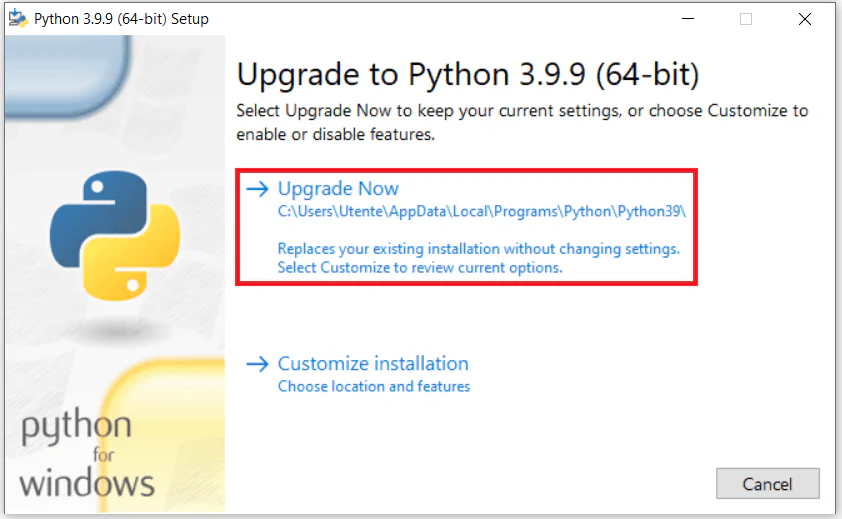
Visit the Python Releases for Windows page, download the latest version, and run the installer.
Using Anaconda
- Open
Anaconda Prompt. - Type:
conda update python
To create a new virtual environment with the latest Python version:
conda create -n python_latest python=3.10
conda activate python_latest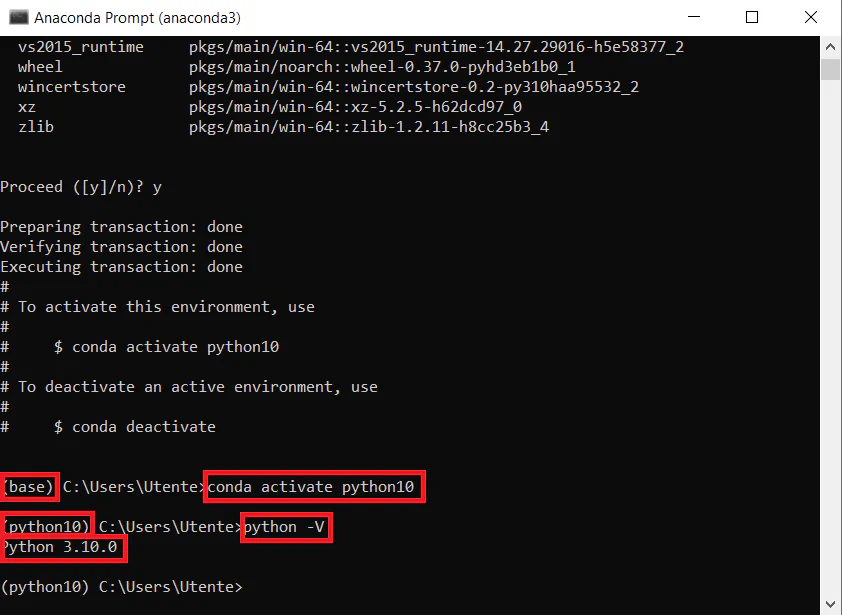
Conclusion
In this tutorial, we covered:
- Checking for Python installations.
- Installing Python from the official website or using Anaconda.
- Running Python scripts on Windows.
- Updating Python to the latest version.
Now, you’re ready to start coding in Python!